

Planning a trip to Canada? Check out my epic Canada itinerary exploring the Canadian Rockies. Curious about expenses? I’ve got you covered with detailed records of the costs incurred. Get ready for an unforgettable adventure in the Canadian Rockies!
My main goal while planning my Canada itinerary was quite simple – I had my heart set on visiting Banff National Park; everything else would be considered just a side trip. This park was significant for me as it marked the culmination of my extensive exploration across The Americas. Starting in the United States, I ventured through Central America, saving Canada as my ultimate stop before returning home.
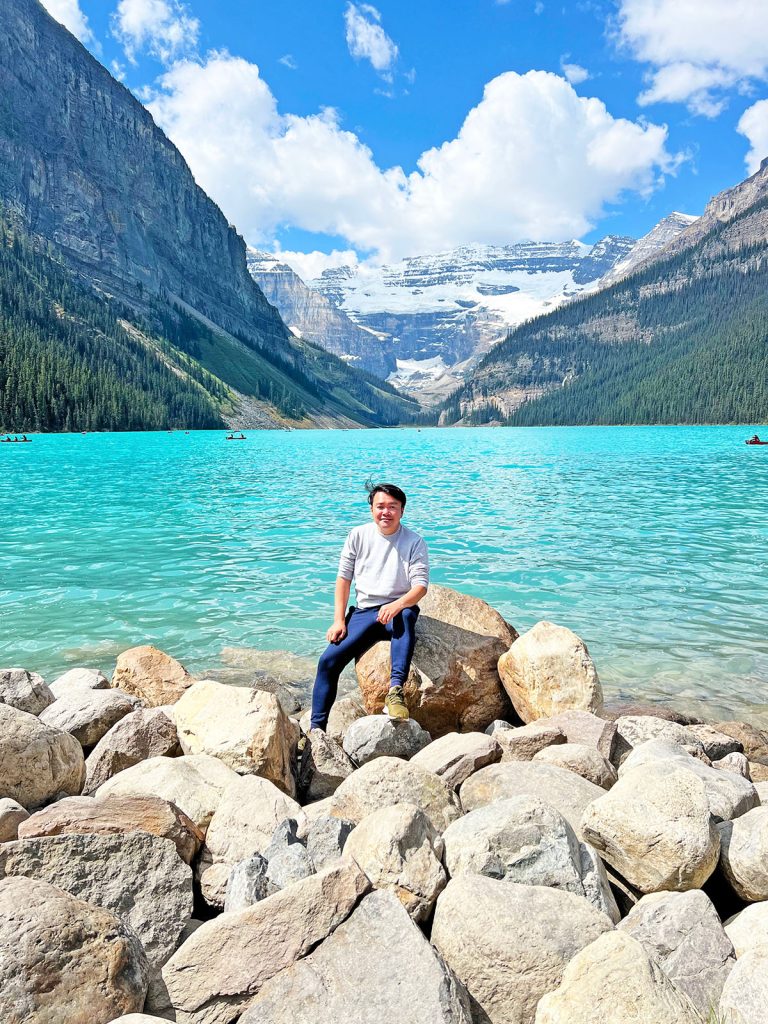
While I plan to write a comprehensive post detailing my full 30-day itinerary, I’d like to shift the spotlight onto the Canadian leg of my journey for now. However, if you’re curious about my USA itinerary and expenses, feel free to check them out. It will provide you with a rough idea of the potential costs involved if you decide to explore both the United States and Canada.
Canada Itinerary and Expenses
Day 1: Arrival in Calgary
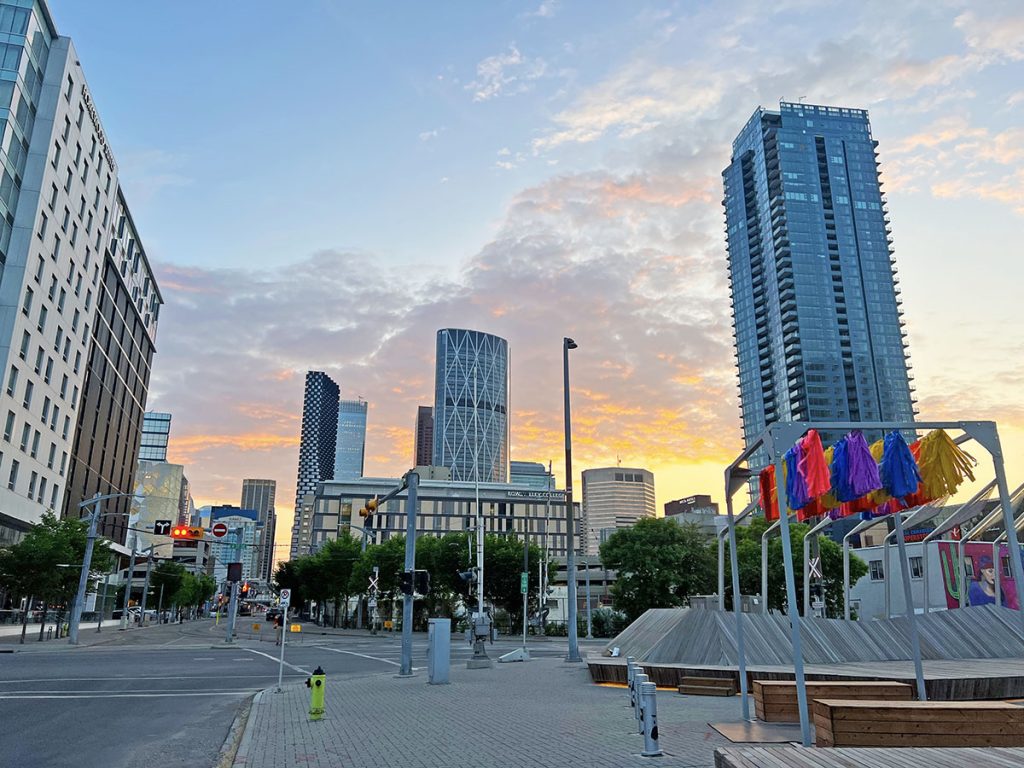
After our plane touched down in Calgary at around 7:00 pm, the immigration process was remarkably smooth thanks to the fully automated system. All I had to do was scan my passport, answer a few questions online, and within less than 5 minutes, I had successfully passed through. However, there was a slight hiccup when it came to retrieving our baggage. It took more than 30 minutes for them to appear on the carousel, causing an unexpected delay. Feeling tired from the 6-hour flight, I decided to opt for an Uber instead of taking the bus, despite the relatively higher cost.
Expenses
- Uber from Airport to Hostel: Php1,460
- Grocery: Php390
- Dinner: Php560
- 3 nights hostel: Php7,150 [HI Calgary City Centre – Hostel]
Day 2: Explore Banff National Park
To secure my Banff National Park tour, I opted to book a 1-Day Lake Louise Tour from Calgary through TakeTours due to its competitive pricing compared to other online tour companies. With the peak season just starting, I didn’t want to take any chances of missing out on a spot for the shared tours. Hence, I made the booking a week in advance. Given my limited time of only three days in Calgary, I had to carefully plan my itinerary, leaving little room for flexibility.
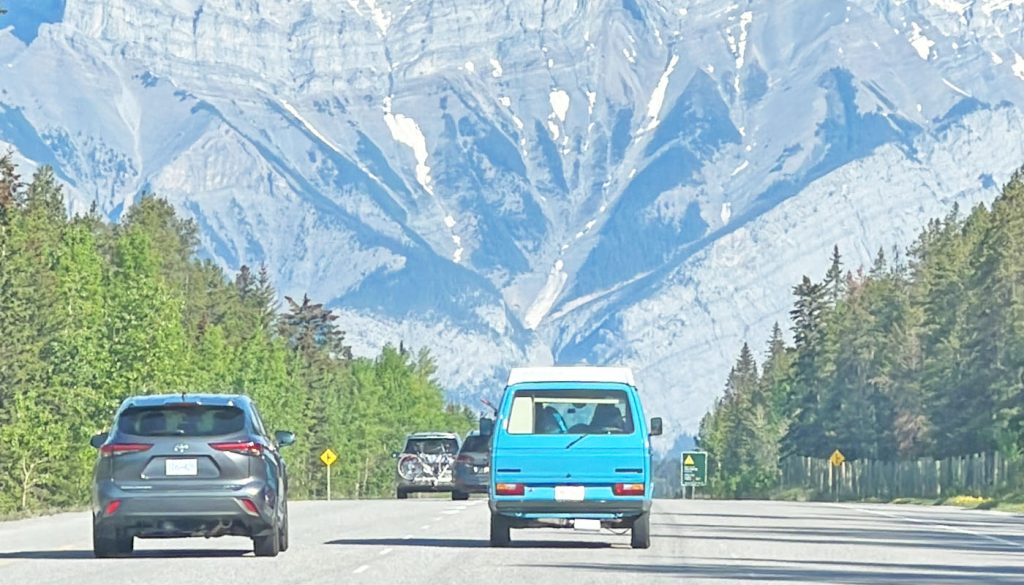
During the tour, there were three designated pick-up and drop-off points, and fortunately, one of them happened to be within walking distance of my hostel. This fortunate proximity allowed me to save on Uber expenses.
Since the hostel’s breakfast service started at 8:00 am, slightly later than the tour’s meetup time of 7:50 am, I opted to grab a quick coffee and a donut from Tim Horton’s to kick-start my day.
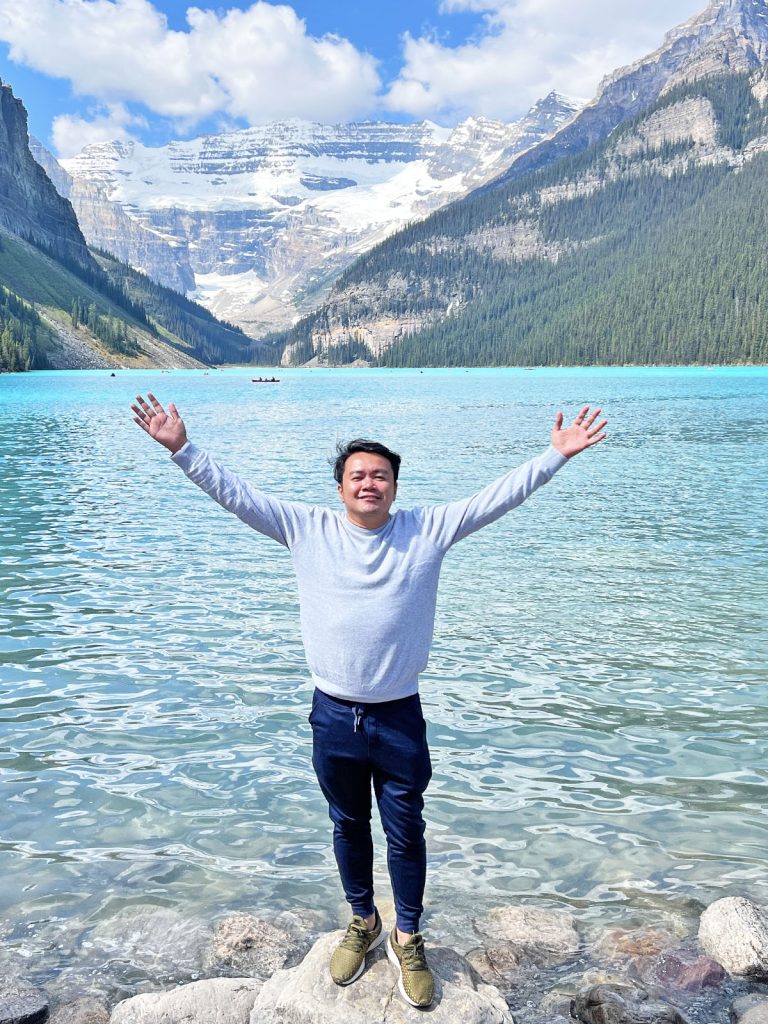
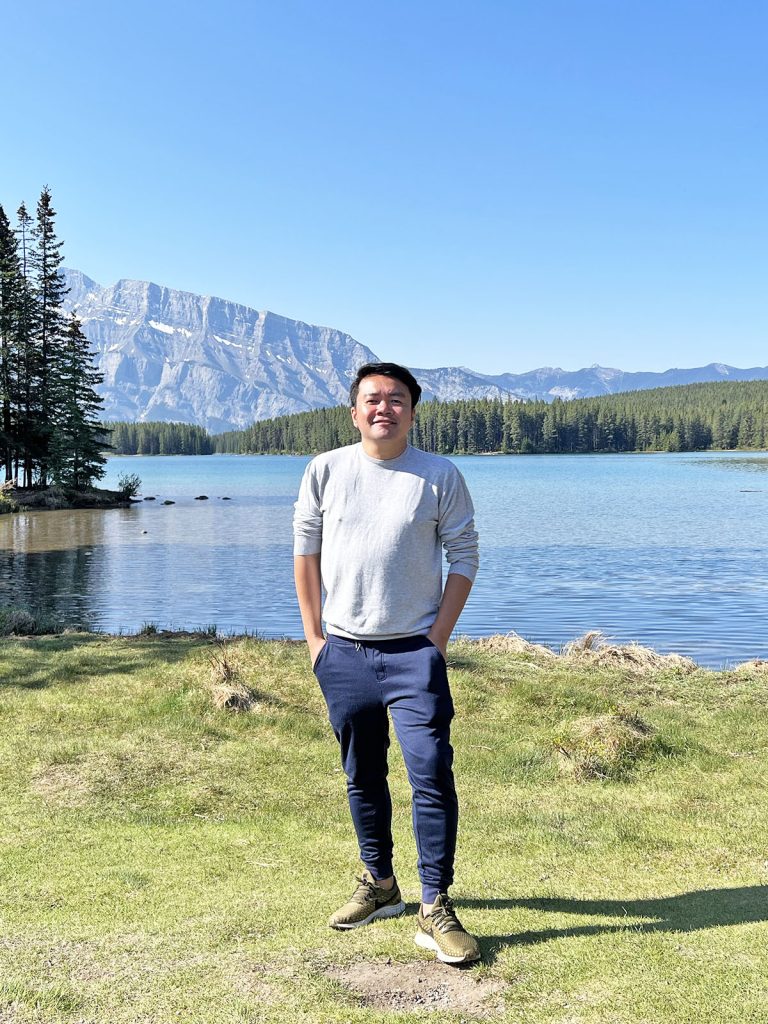
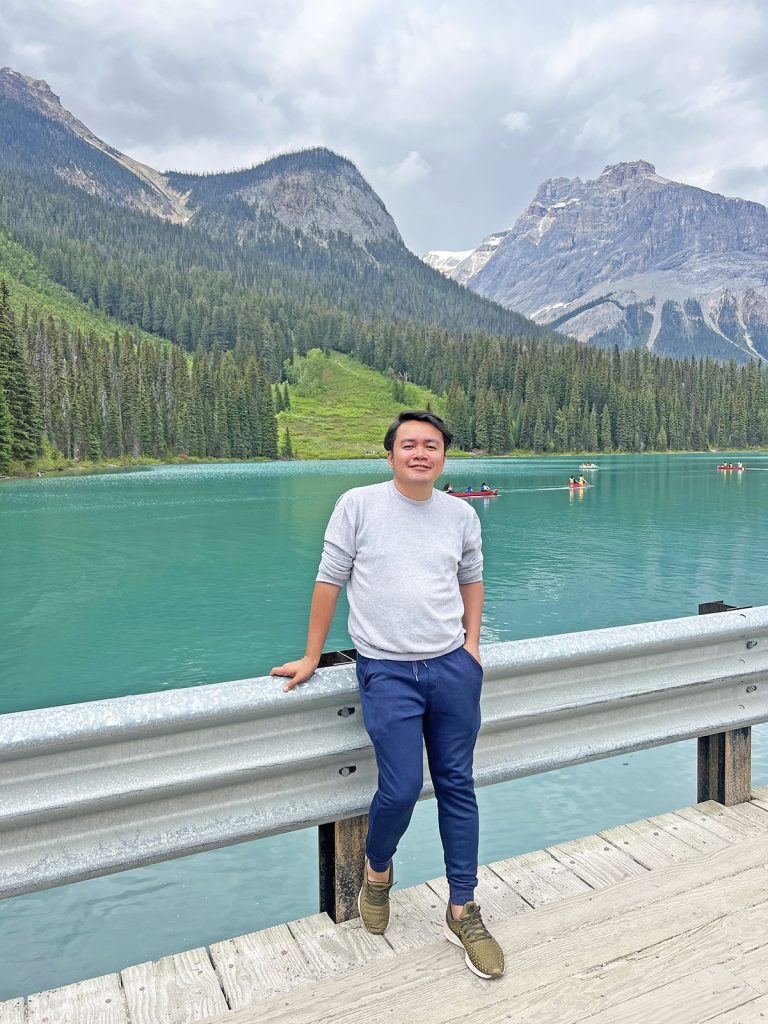
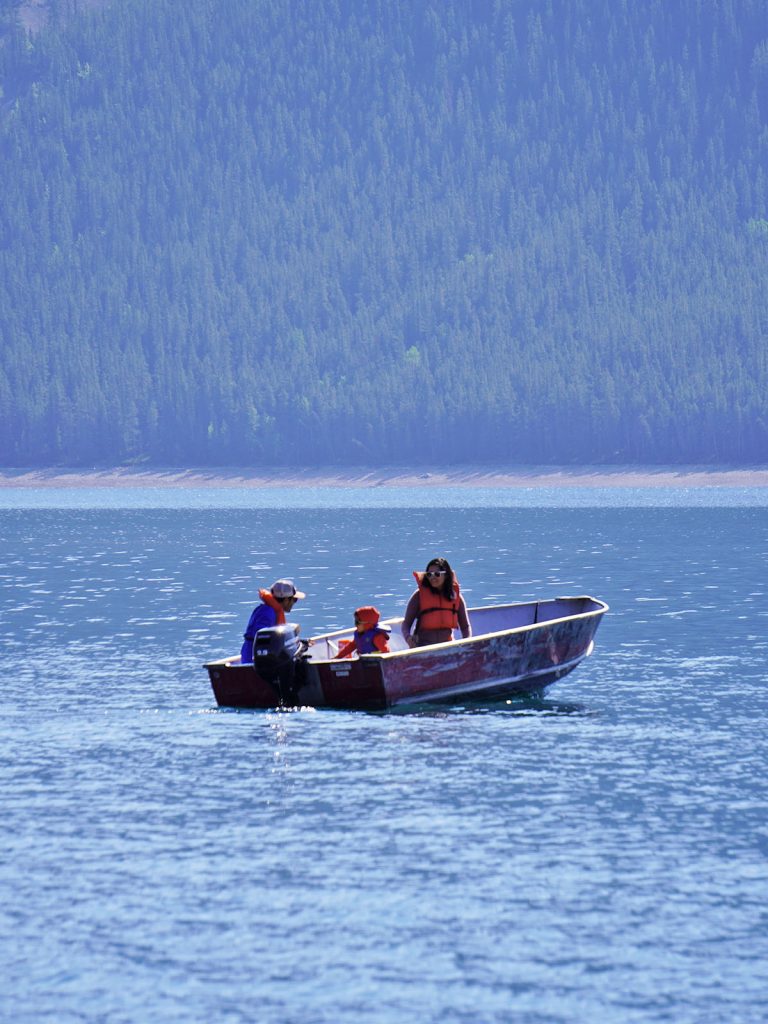
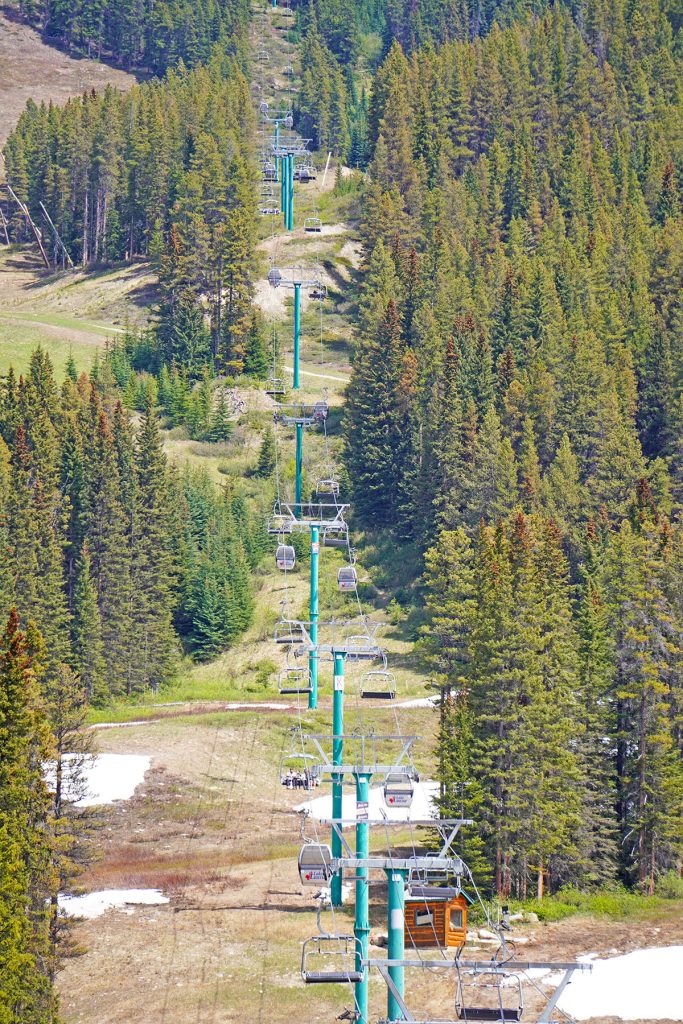
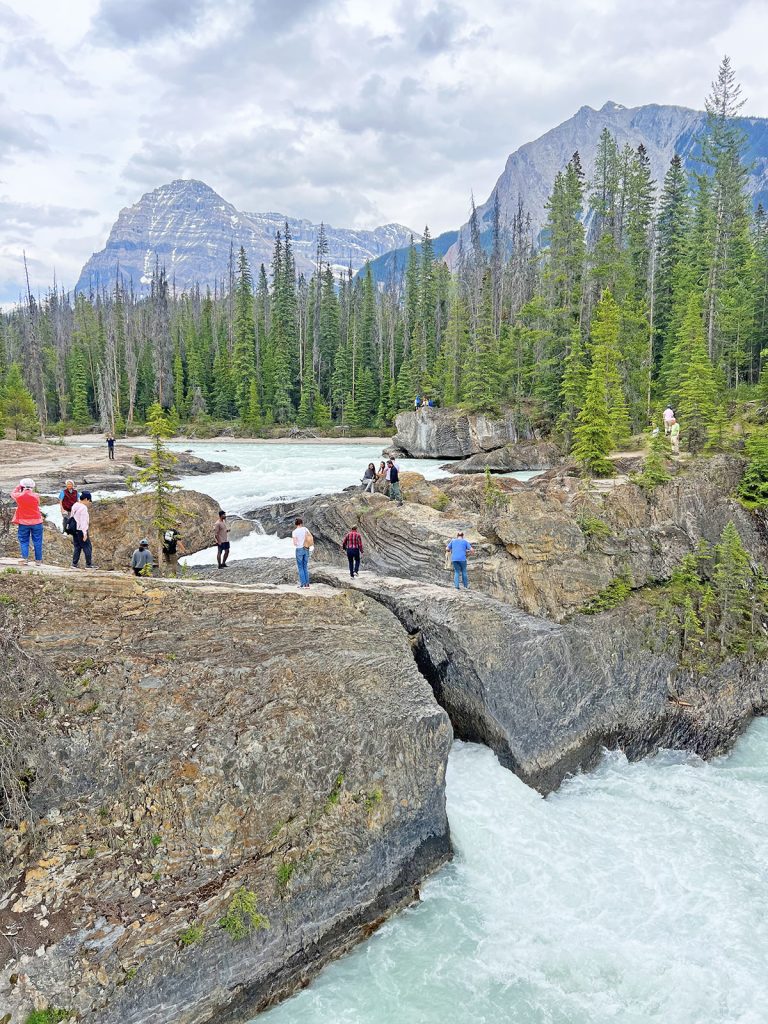
Unfortunately, Moraine Lake remained closed during our tour, but our guide made sure to offer alternative destinations. Our first stop was Two Jack Lake, followed by a visit to Lake Minnewanka. We then proceeded to Lake Louise and later to the Ski Resort, where we enjoyed a delicious lunch. Afterward, we continued our journey to Emerald Lake, located in Yoho National Park, and concluded the day with a visit to Nature Bridge. We arrived back in Calgary at approximately 6:00 pm, concluding a fulfilling day of exploration.
Expenses
- Banff Tour: Php4,370
- Breakfast: Php224
- Lunch: Php505
- Dinner: Php900
Day 3: Walk around Calgary / Shopping
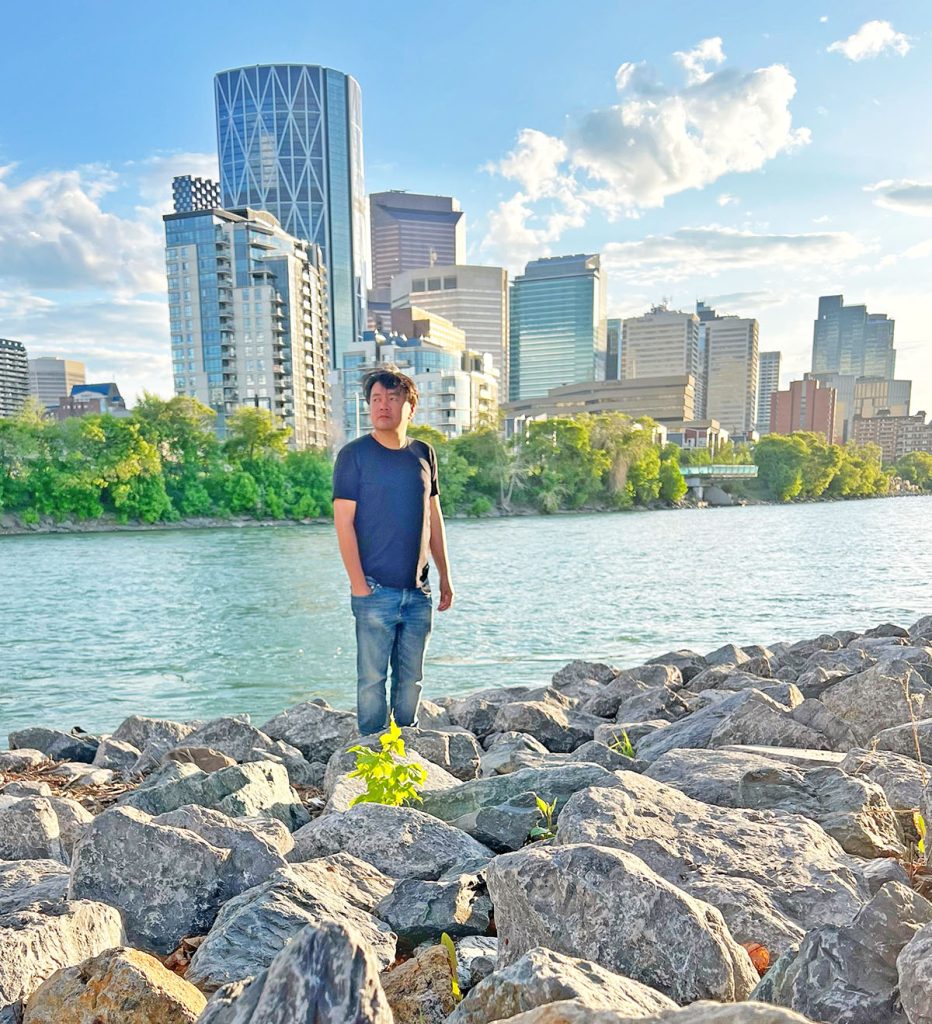
On my third day, I dedicated my time to exploring Calgary and indulging in some retail therapy at CrossIron Mills, which happens to be one of the largest shopping centers in Alberta. After satisfying my shopping desires, I couldn’t resist the temptation of enjoying some mouthwatering chicken joy, so I headed to Jollibee for a delightful late lunch.
Expenses
- Free breakfast at the hostel
- Whole-day transportation cost (bus & tram): Php900
- Shopping: Php7,200
- Late lunch at Jollibee: Php560
- Dinner (I was still full so I just had a snack): Php225
Day 4: Fly to Vancouver
On my fourth day in Canada, I boarded a flight to Vancouver. Considering the high cost of accommodations in the City Center, I made the decision to book a hostel located within the University of British Columbia (UBC) campus. Although it was situated a bit far from the city center, I found it to be a much more budget-friendly option. Moreover, convenient bus services made it easily accessible, ensuring I could navigate the city without any hassle.
Given the weight of my luggage, I made the practical choice of taking the train to Langara Station. From there, I opted to hail an Uber to transport me directly to Pacific Spirit Hostel, located within the UBC campus. This way, I ensured a more comfortable and convenient journey, allowing me to settle in at the hostel smoothly.
Once I had completed the check-in process, I took the opportunity to explore a bit of the UBC campus. Although I initially intended to venture into the city center afterward, I must admit that laziness got the better of me. Instead, I opted for a cozy and relaxing afternoon, choosing to unwind in the comfort of my room and enjoy some much-needed downtime. Sometimes, giving in to a lazy day can be just as rejuvenating as exploring bustling city streets.

Expenses
- Free breakfast at the hostel
- Bus to Calgary airport: Php148
- Plane Fare from Calgary to Vancouver: Php4,400
- 2 nights hostel: Php6,700 [Pacific Spirit Hostel]
- Train from Vancouver Airport to Langara Station: Php450
- Uber to Pacific Spirit Hostel: Php950
- Lunch in UBC: Php670
- Dinner/Grocery: Php450
Day 5: Explore Vancouver / Shopping
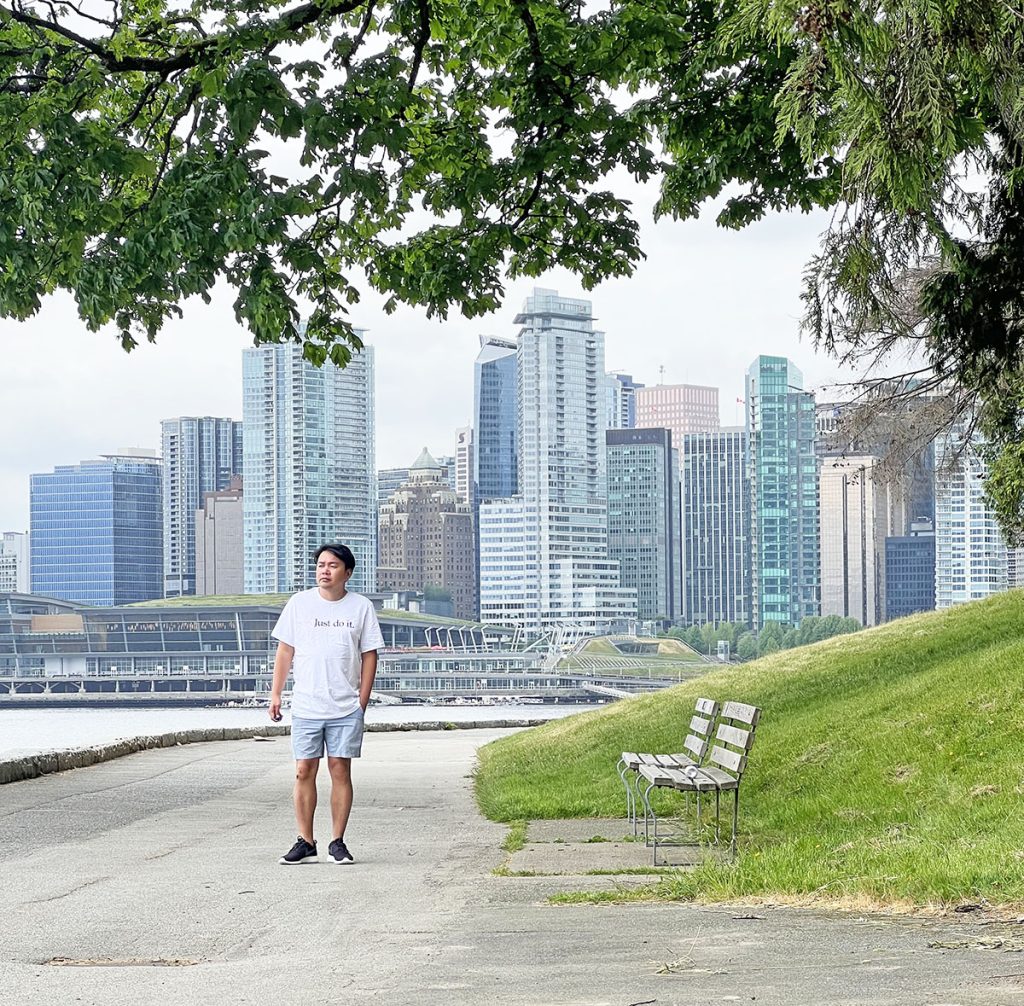
Eager to explore the city, I set out early in the morning. My first stop was Stanley Park, where I spent a good portion of my day leisurely strolling and enjoying the park’s serene ambiance. After working up an appetite, I grabbed a quick and satisfying brunch at A&W. Following that, I continued my exploration by walking around the vibrant city center, taking in the sights and immersing myself in the urban atmosphere. In the afternoon, I made my way to Metropolis, a shopping destination, to purchase some pasalubong (souvenirs). With my shopping mission accomplished, I then returned to the hostel, ready to unwind and reflect on a fulfilling day of exploration.
- Transportation for the whole day (bus & train) Php510
- Brunch: Php390
- Pasalubong: Php8,500
- Dinner: Php600
Day 6: Fly Home to Manila
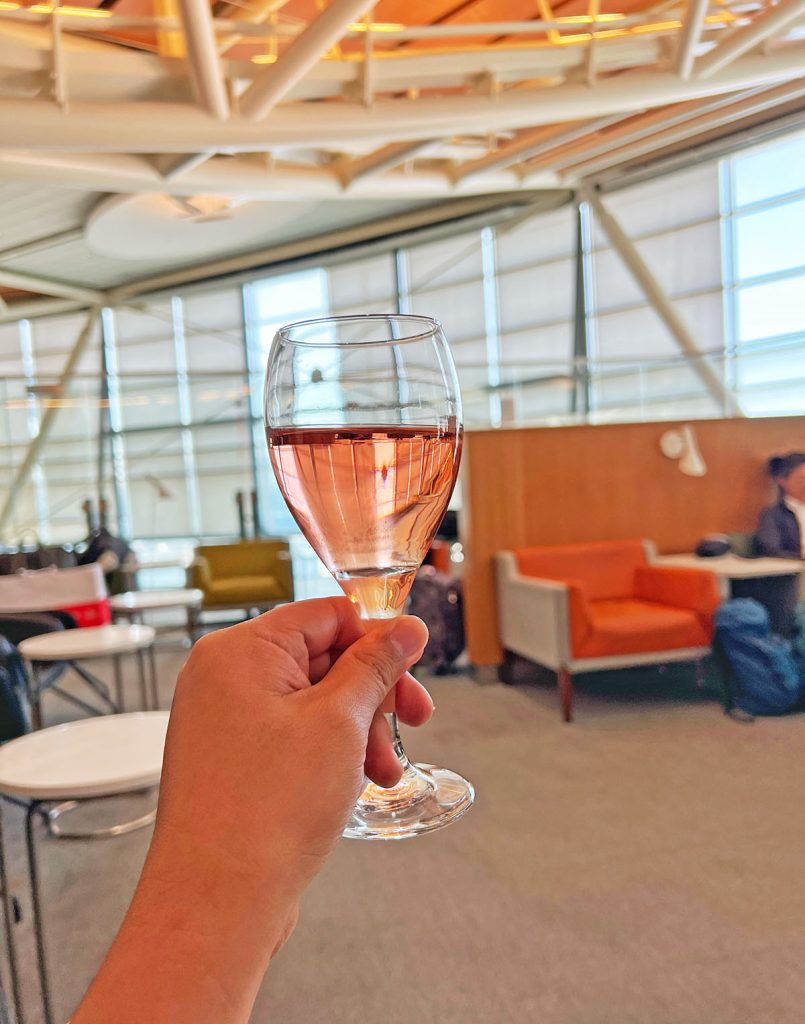
As my time in Canada came to an end, I made my way back home. I decided to take an Uber from the hostel to the airport, allowing for a hassle-free journey. With a deliberate early departure from the hostel, I had the luxury of spending some quality time relaxing and unwinding in the Skyteam Lounge at Vancouver Airport. This provided a serene and comfortable environment to reflect on my experiences before embarking on my journey back home.
- Uber from hostel to airport: Php1,350
- Access to Skyteam Lounge – free with my Priority Pass
Total Expenses – 6 Days in Canada
- Airfare (Manila-LA/Vancouver-Manila): Php52,000
- Visa Cost: Php7,700 (if you have a valid US visa or hold a Canadian visa within 10 years, you can now op to apply for an eTA to visit Canada). It will only cost CAN$7.
- Travel Insurance: Php1,896 – this covers my entire trip for a month
- Hostel: Php13,850
- Food and Grocery: Php5,474
- Shopping/Pasalubong: Php15,700
- Transportation within Canada (bus, train, Uber, &plane): Php10,168
- Banff Tours: Php4368
Total Expenses for 6 Days Canada Itinerary: Php111,156
Travel Tips
- It’s important to note that the security check line at Calgary Airport can often be quite lengthy, so it’s advisable to arrive well in advance of your departure time. I personally experienced this situation during my own travel, where I found myself queuing for nearly an hour with minimal progress. Fortunately, I observed some individuals seeking assistance as they were at risk of missing their flights. They were directed to an alternative area specifically for business class passengers and those with imminent boarding status. Given that my flight was already boarding, I was granted access to the courtesy lane to expedite the process. Despite the relief, I found myself in a rush, having to run to reach my gate on time. It was undoubtedly a stressful experience and one that could be considered a travel nightmare.
- You don’t have to buy a ticket when using the train or bus system in Vancouver, you can just use your credit card and tap it when entering the station or riding the bus.
- Book your flight tickets and hotel stays in advance if you want to score for cheap deals.

Glen Nomad is a travel blogger and the founder of Escape Manila, one of the top travel blogs in the Philippines. He has visited all 82 provinces in the Philippines and has explored 53 countries across Asia, North & South America, East Africa, Europe, and Australia. Follow him on IG at @escapemanila